


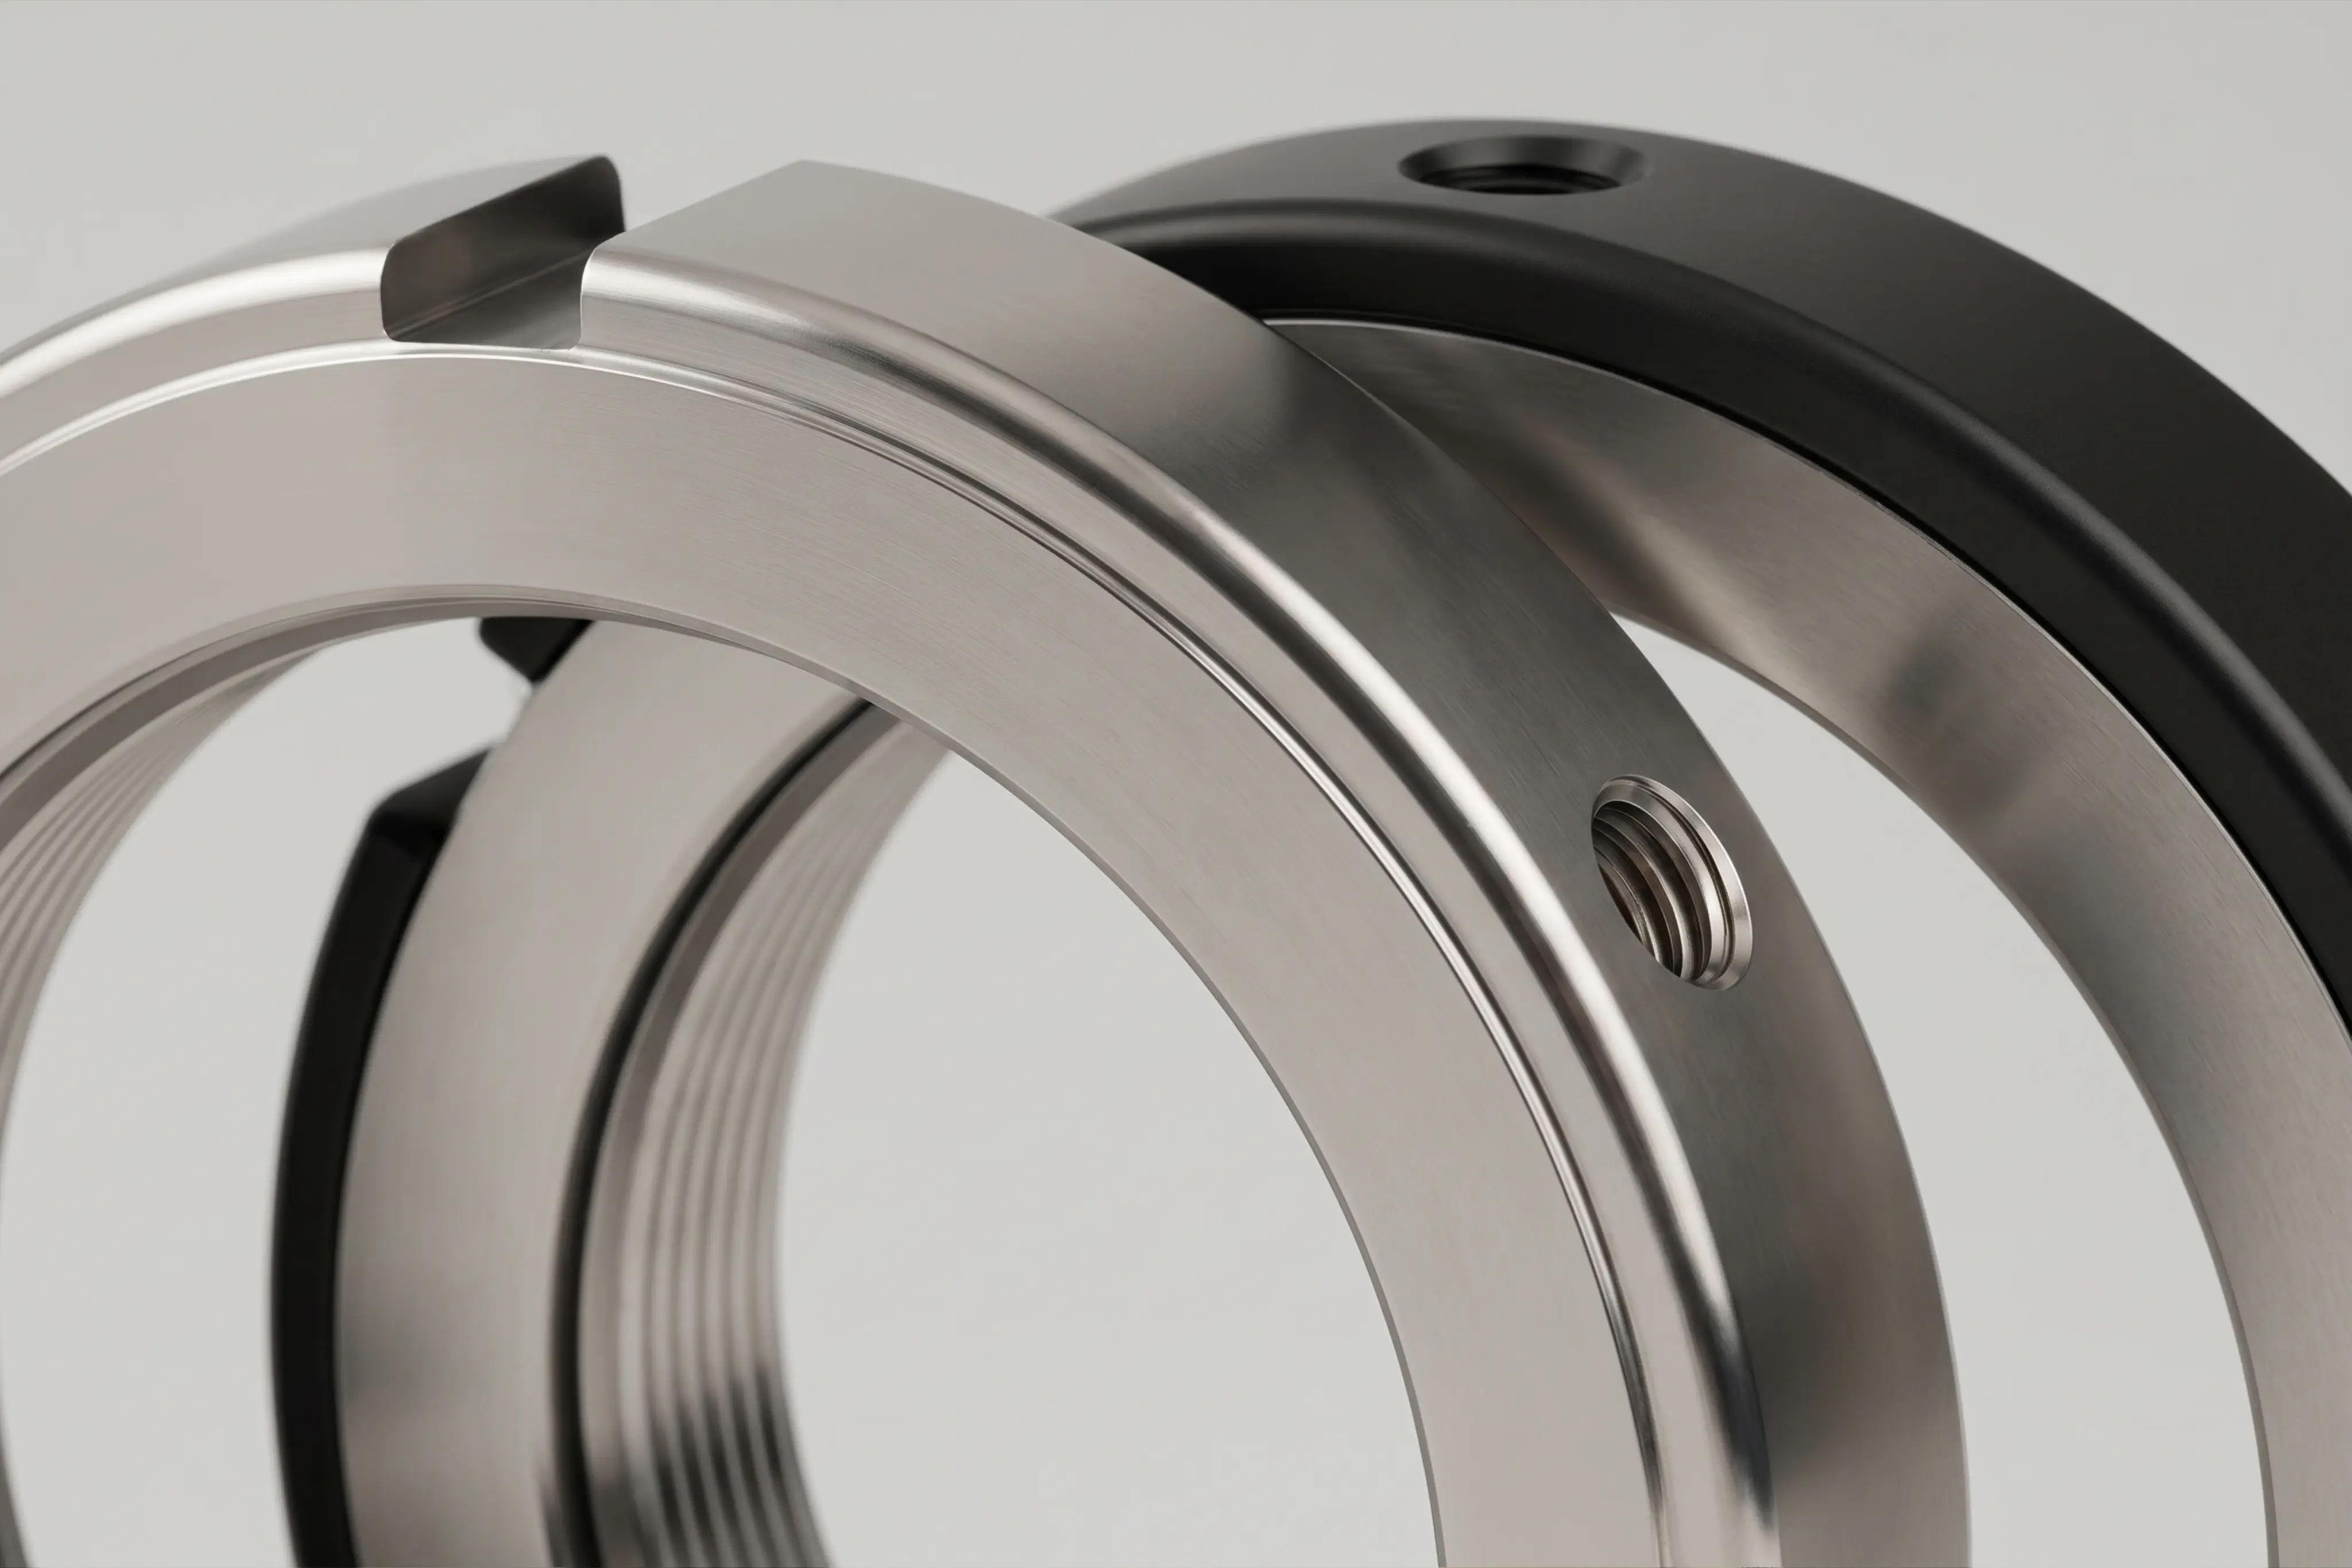
Locknuts with Set Screws
BF, BFZ, HKF, HKR, MA, MF, MFZ, MR, MRN, MRRA, MRS, MRZ, SFZ, SR, SRZ, TMF
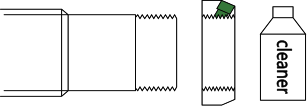
Step 1
Wash the spindle / ball screw and locknut with oil cleaner and air dry them.
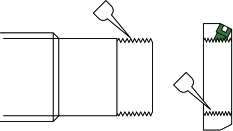
Step 2
Add lubricating oil onto the thread of the spindle / ball screw and locknut.

Step 3
Use an appropriate tool and torque wrench to do the fixation.
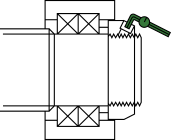
Step 4
Drive the set screws to the rated torque.
Locknuts with Clamping Screws
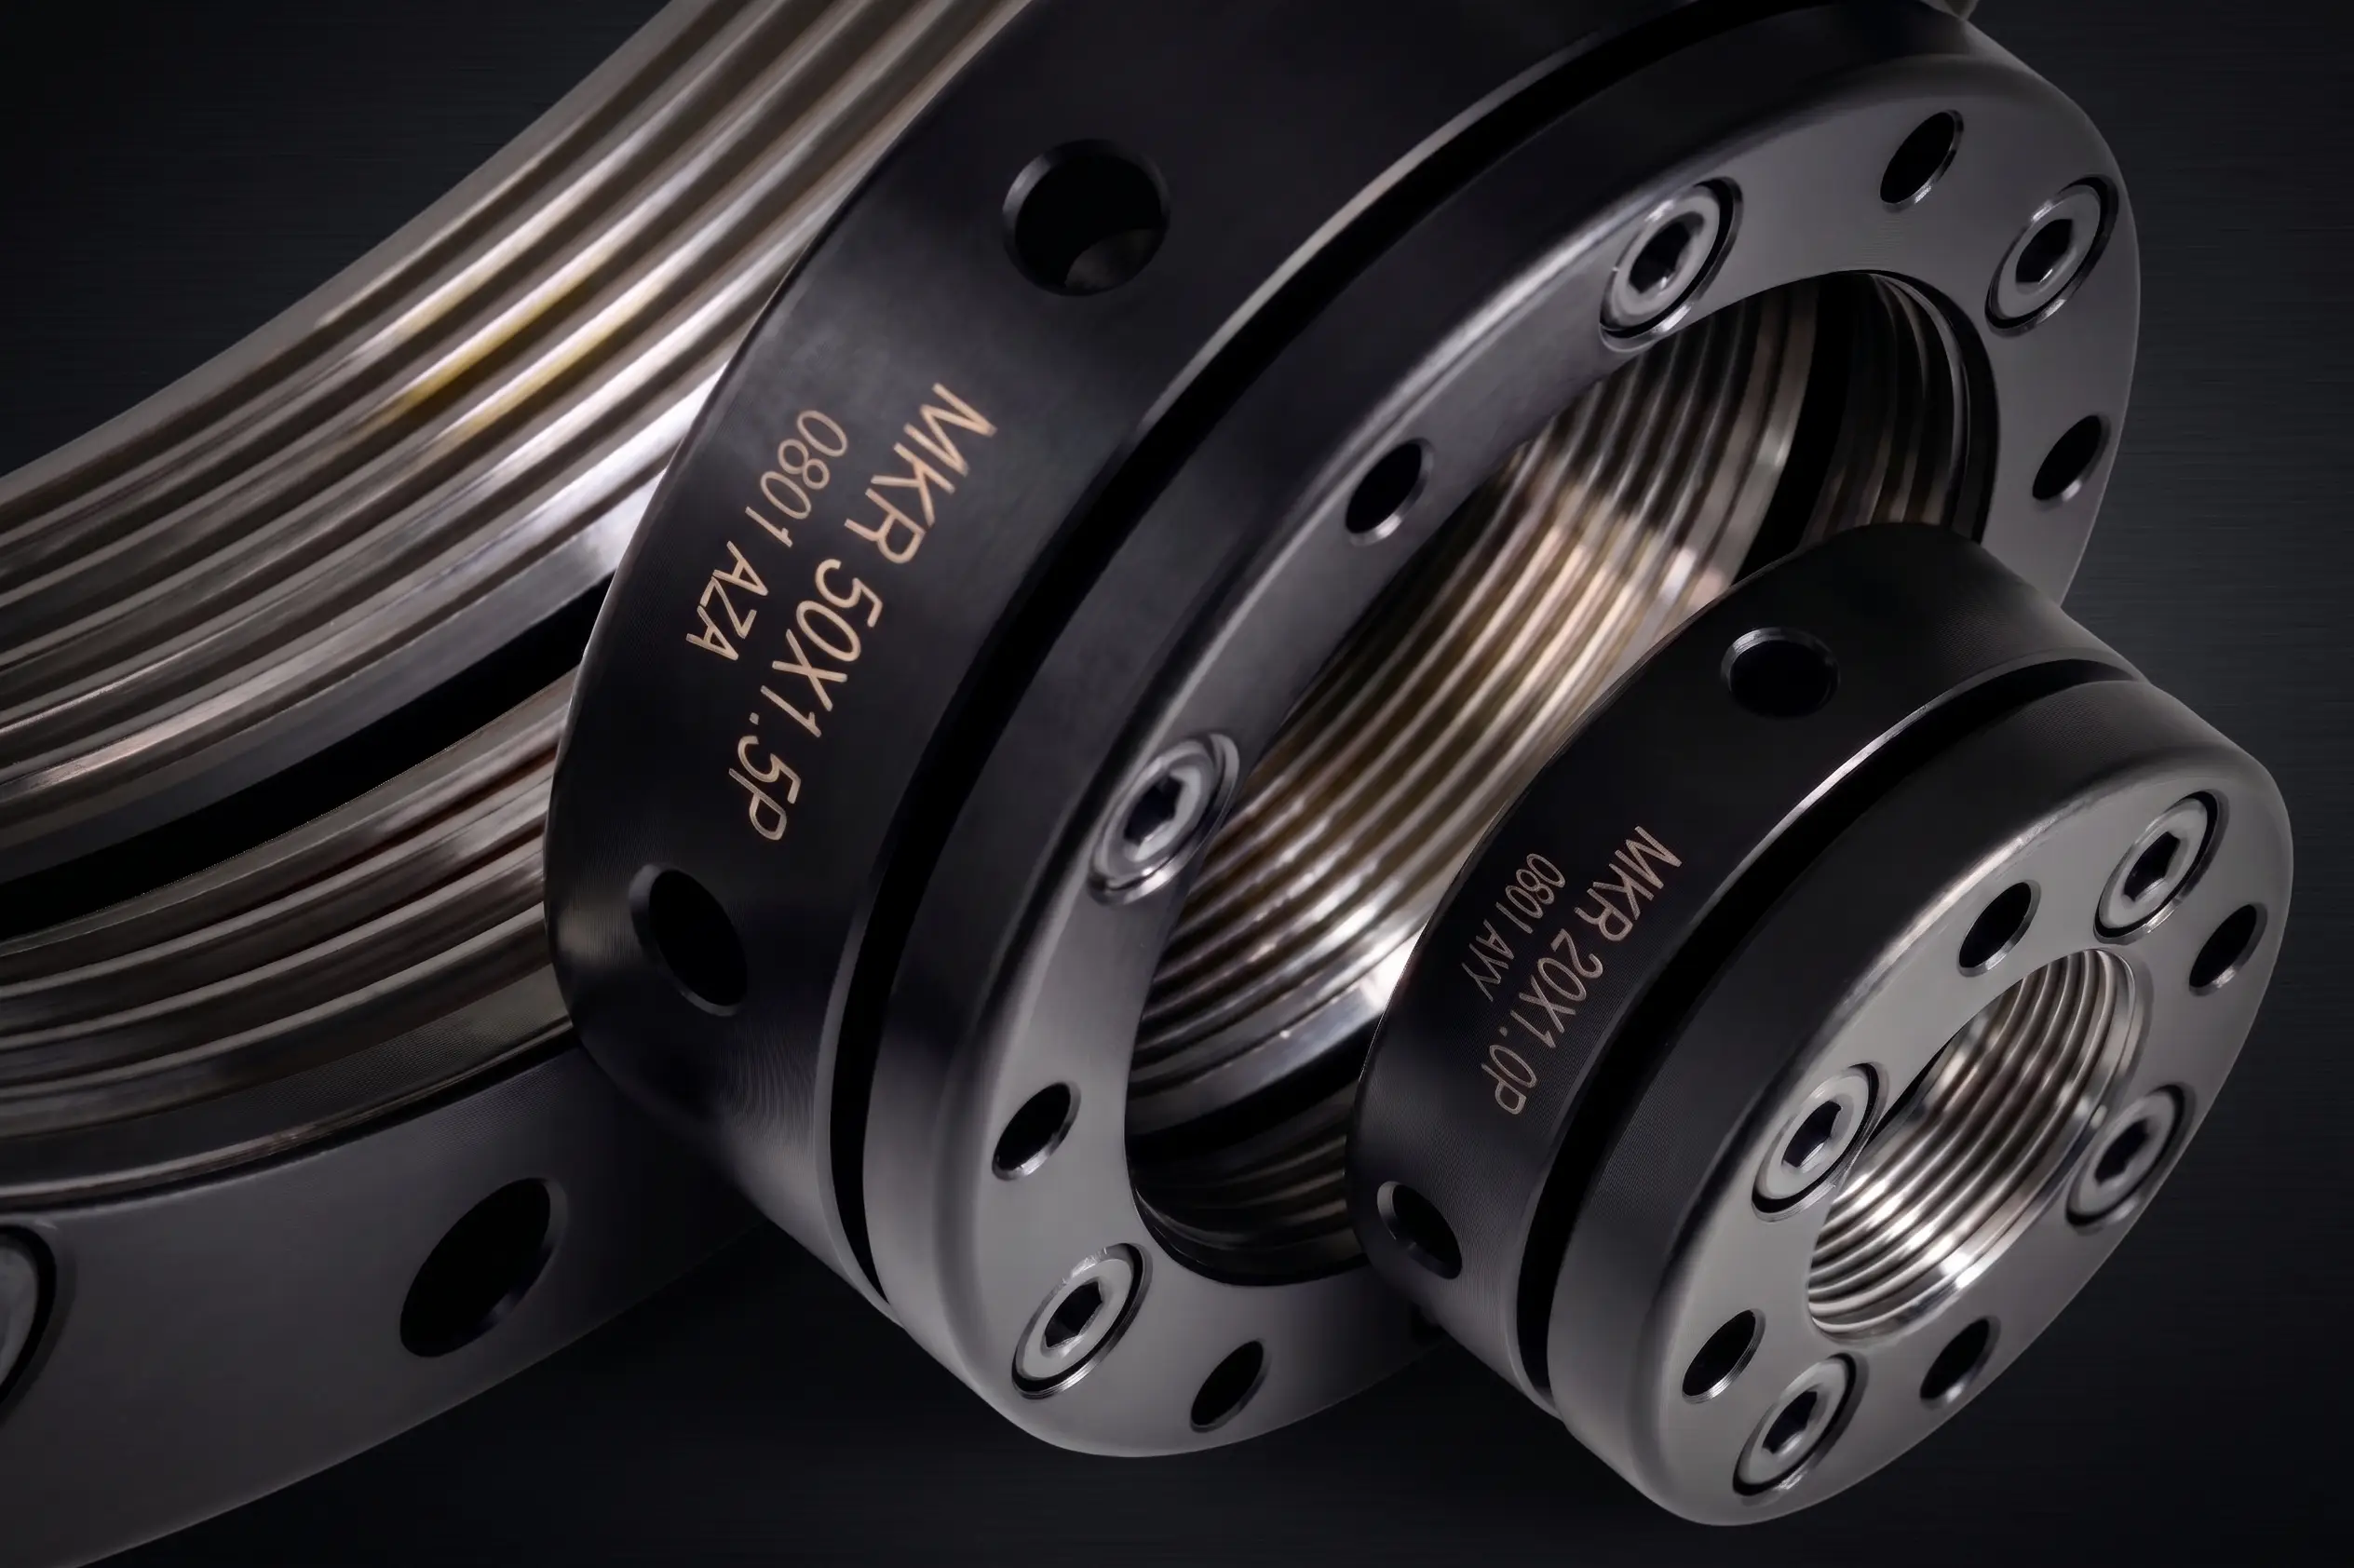
MKK, MKR, MKW
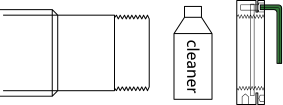
Step 1
Wash the spindle / ball screw and locknut with oil cleaner and air dry them, and loosen the clamping screws of the locknut.
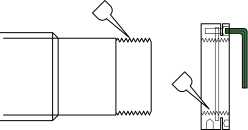
Step 2
Add lubricating oil onto the thread of the spindle / ball screw and locknut.
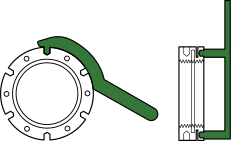
Step 3
Use an appropriate tool and torque wrench to do the fixation.
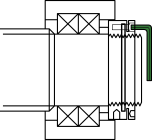
Step 4
Drive the clamping screws to the rated torque.
Use the rated torque for the screw size, and no more. Find it with the Torque Finder.
Before You Start
Oil the threads first. Tightening torque and the clamp force it produces are linked through friction, so a dry or dirty thread changes the result. This is why we give the screw torques as reference figures set onto oiled threads.
Set the screws with a torque wrench, at or below the rated figure for the screw size. See the Torque Finder for the value.
Handled this way, the locknut can be reused.

Disassembly Guide
Locknuts with Set Screws
BF, BFZ, HKF, HKR, MA, MF, MFZ, MR, MRN, MRRA, MRS, MRZ, SFZ, SR, SRZ, TMF
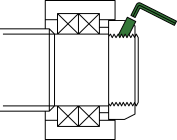
Step 1
Loosen the set screws and clean the spindle / ball screw.
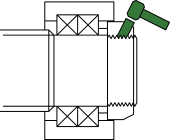
Step 2
Lightly tap the locknut with a rubber mallet.
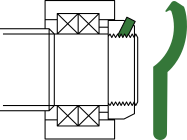
Step 3
Loosen the locknut with an appropriate tool.
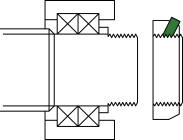
Step 4
Take down the locknut.
Locknuts with Clamping Screws
MKK, MKR, MKW
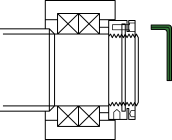
Step 1
Loosen the clamping screws.
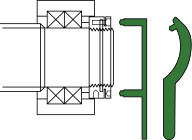
Step 2
Loosen the locknut with an appropriate tool.
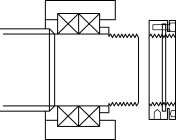
Step 3
Take down the locknut.
Need it on paper? Download the printable PDF.